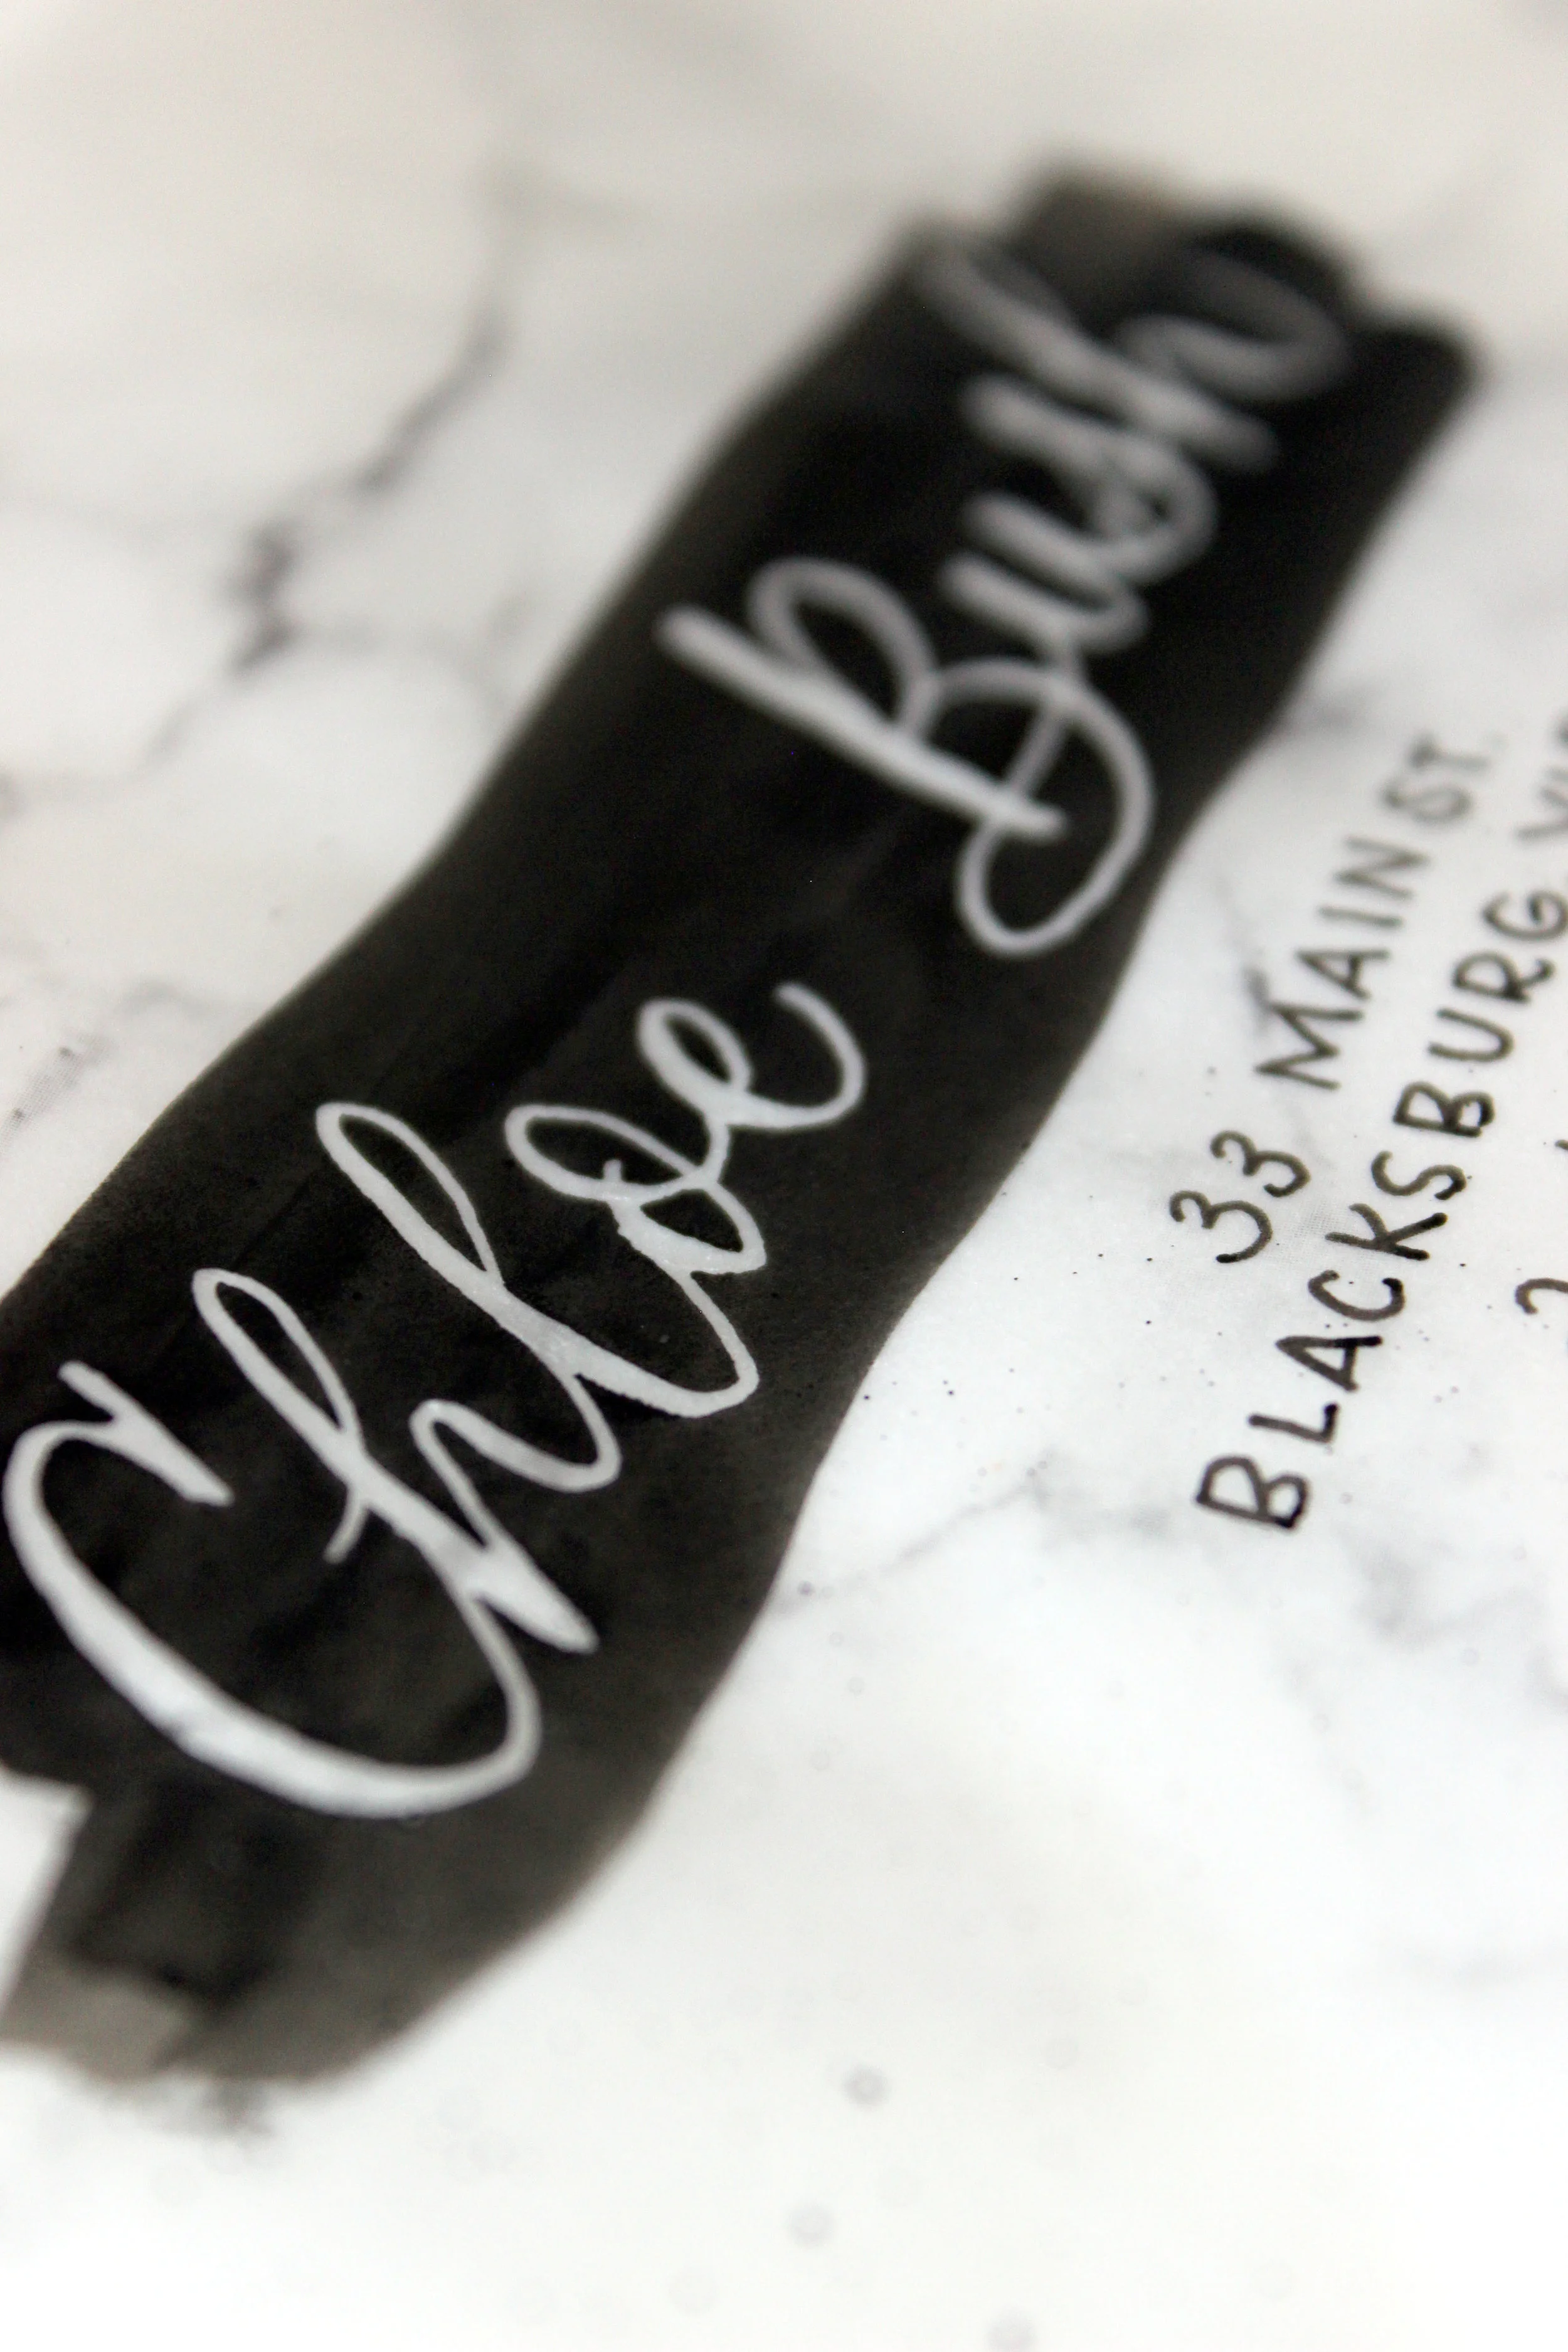
Masking Fluid Envelope Calligraphy
I love masking fluid envelopes! They're different and fun. I've done a couple weddings with them and they're a huge hit, so here's a little tutorial to show you how to use a nib and calligraphy pen with masking fluid and a paint overlay!

Materials
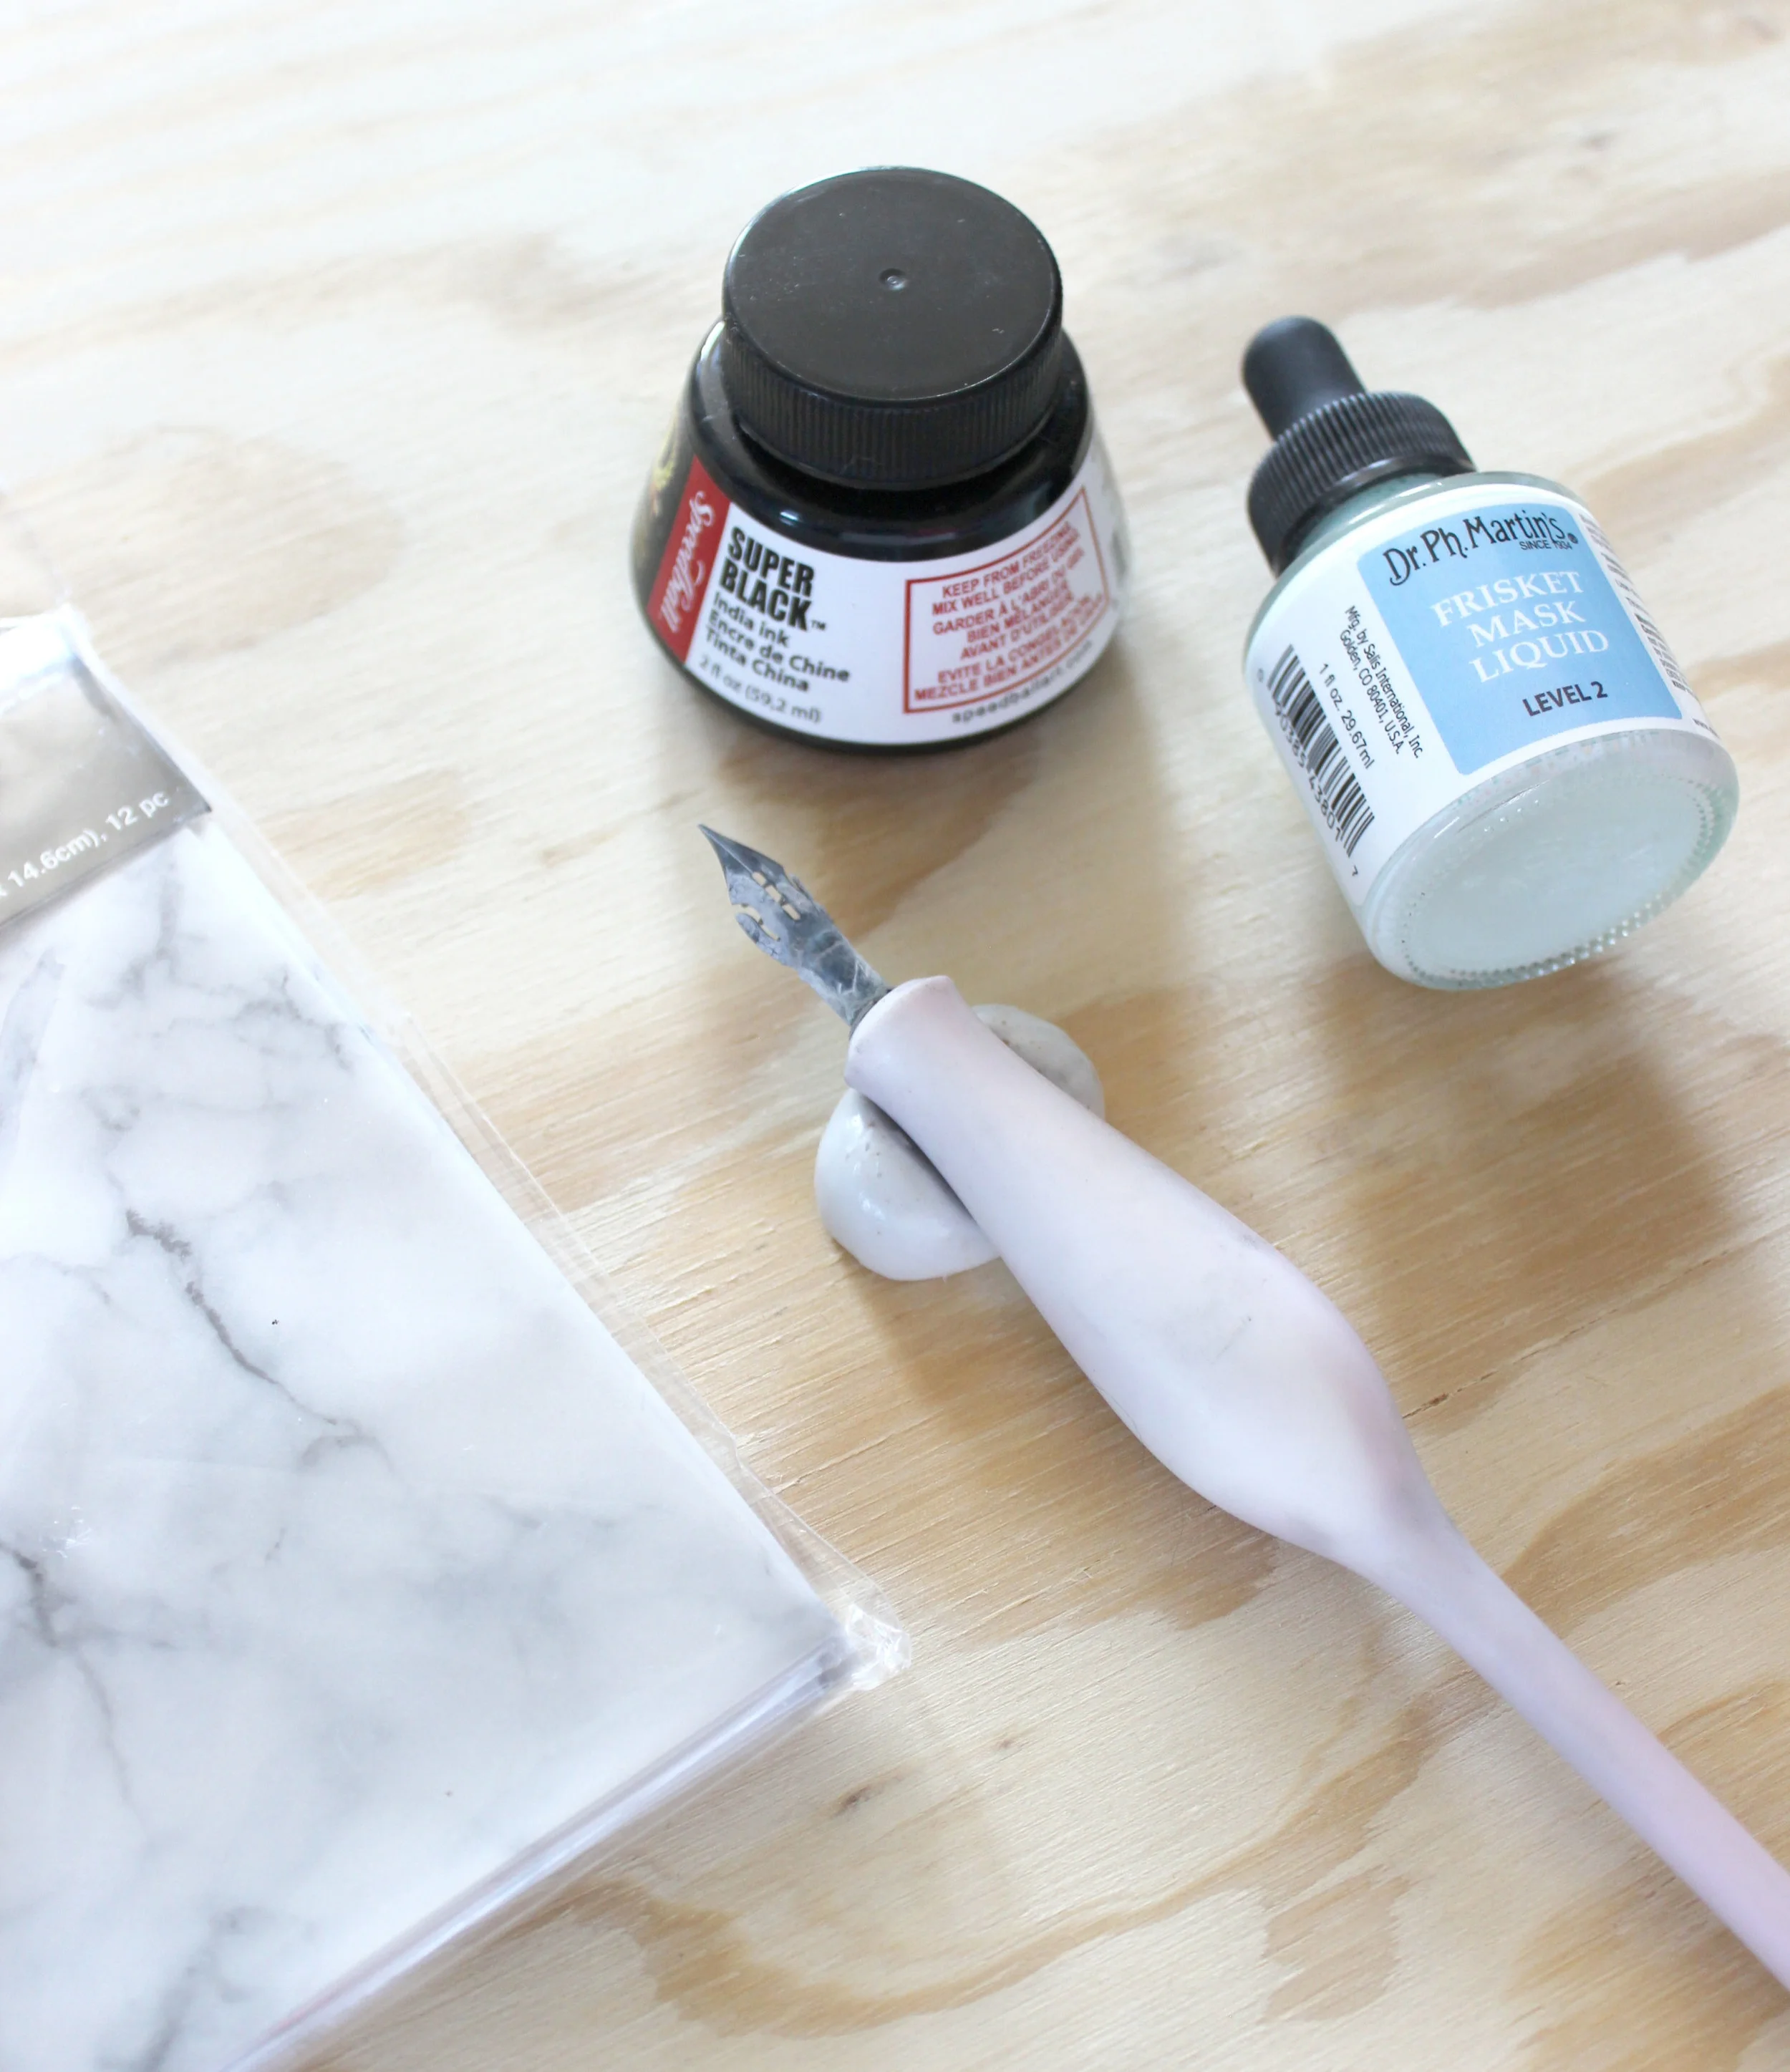
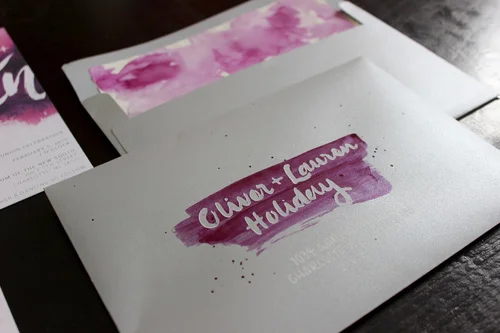
- Envelopes (how awesome are these marble vellum ones?!)
- Dr. Ph Martin's Frisket Mask Fluid Level 2
- Calligraphy Pen
- Brause Steno nib
- Paint/Ink
- Paintbrush
Get started
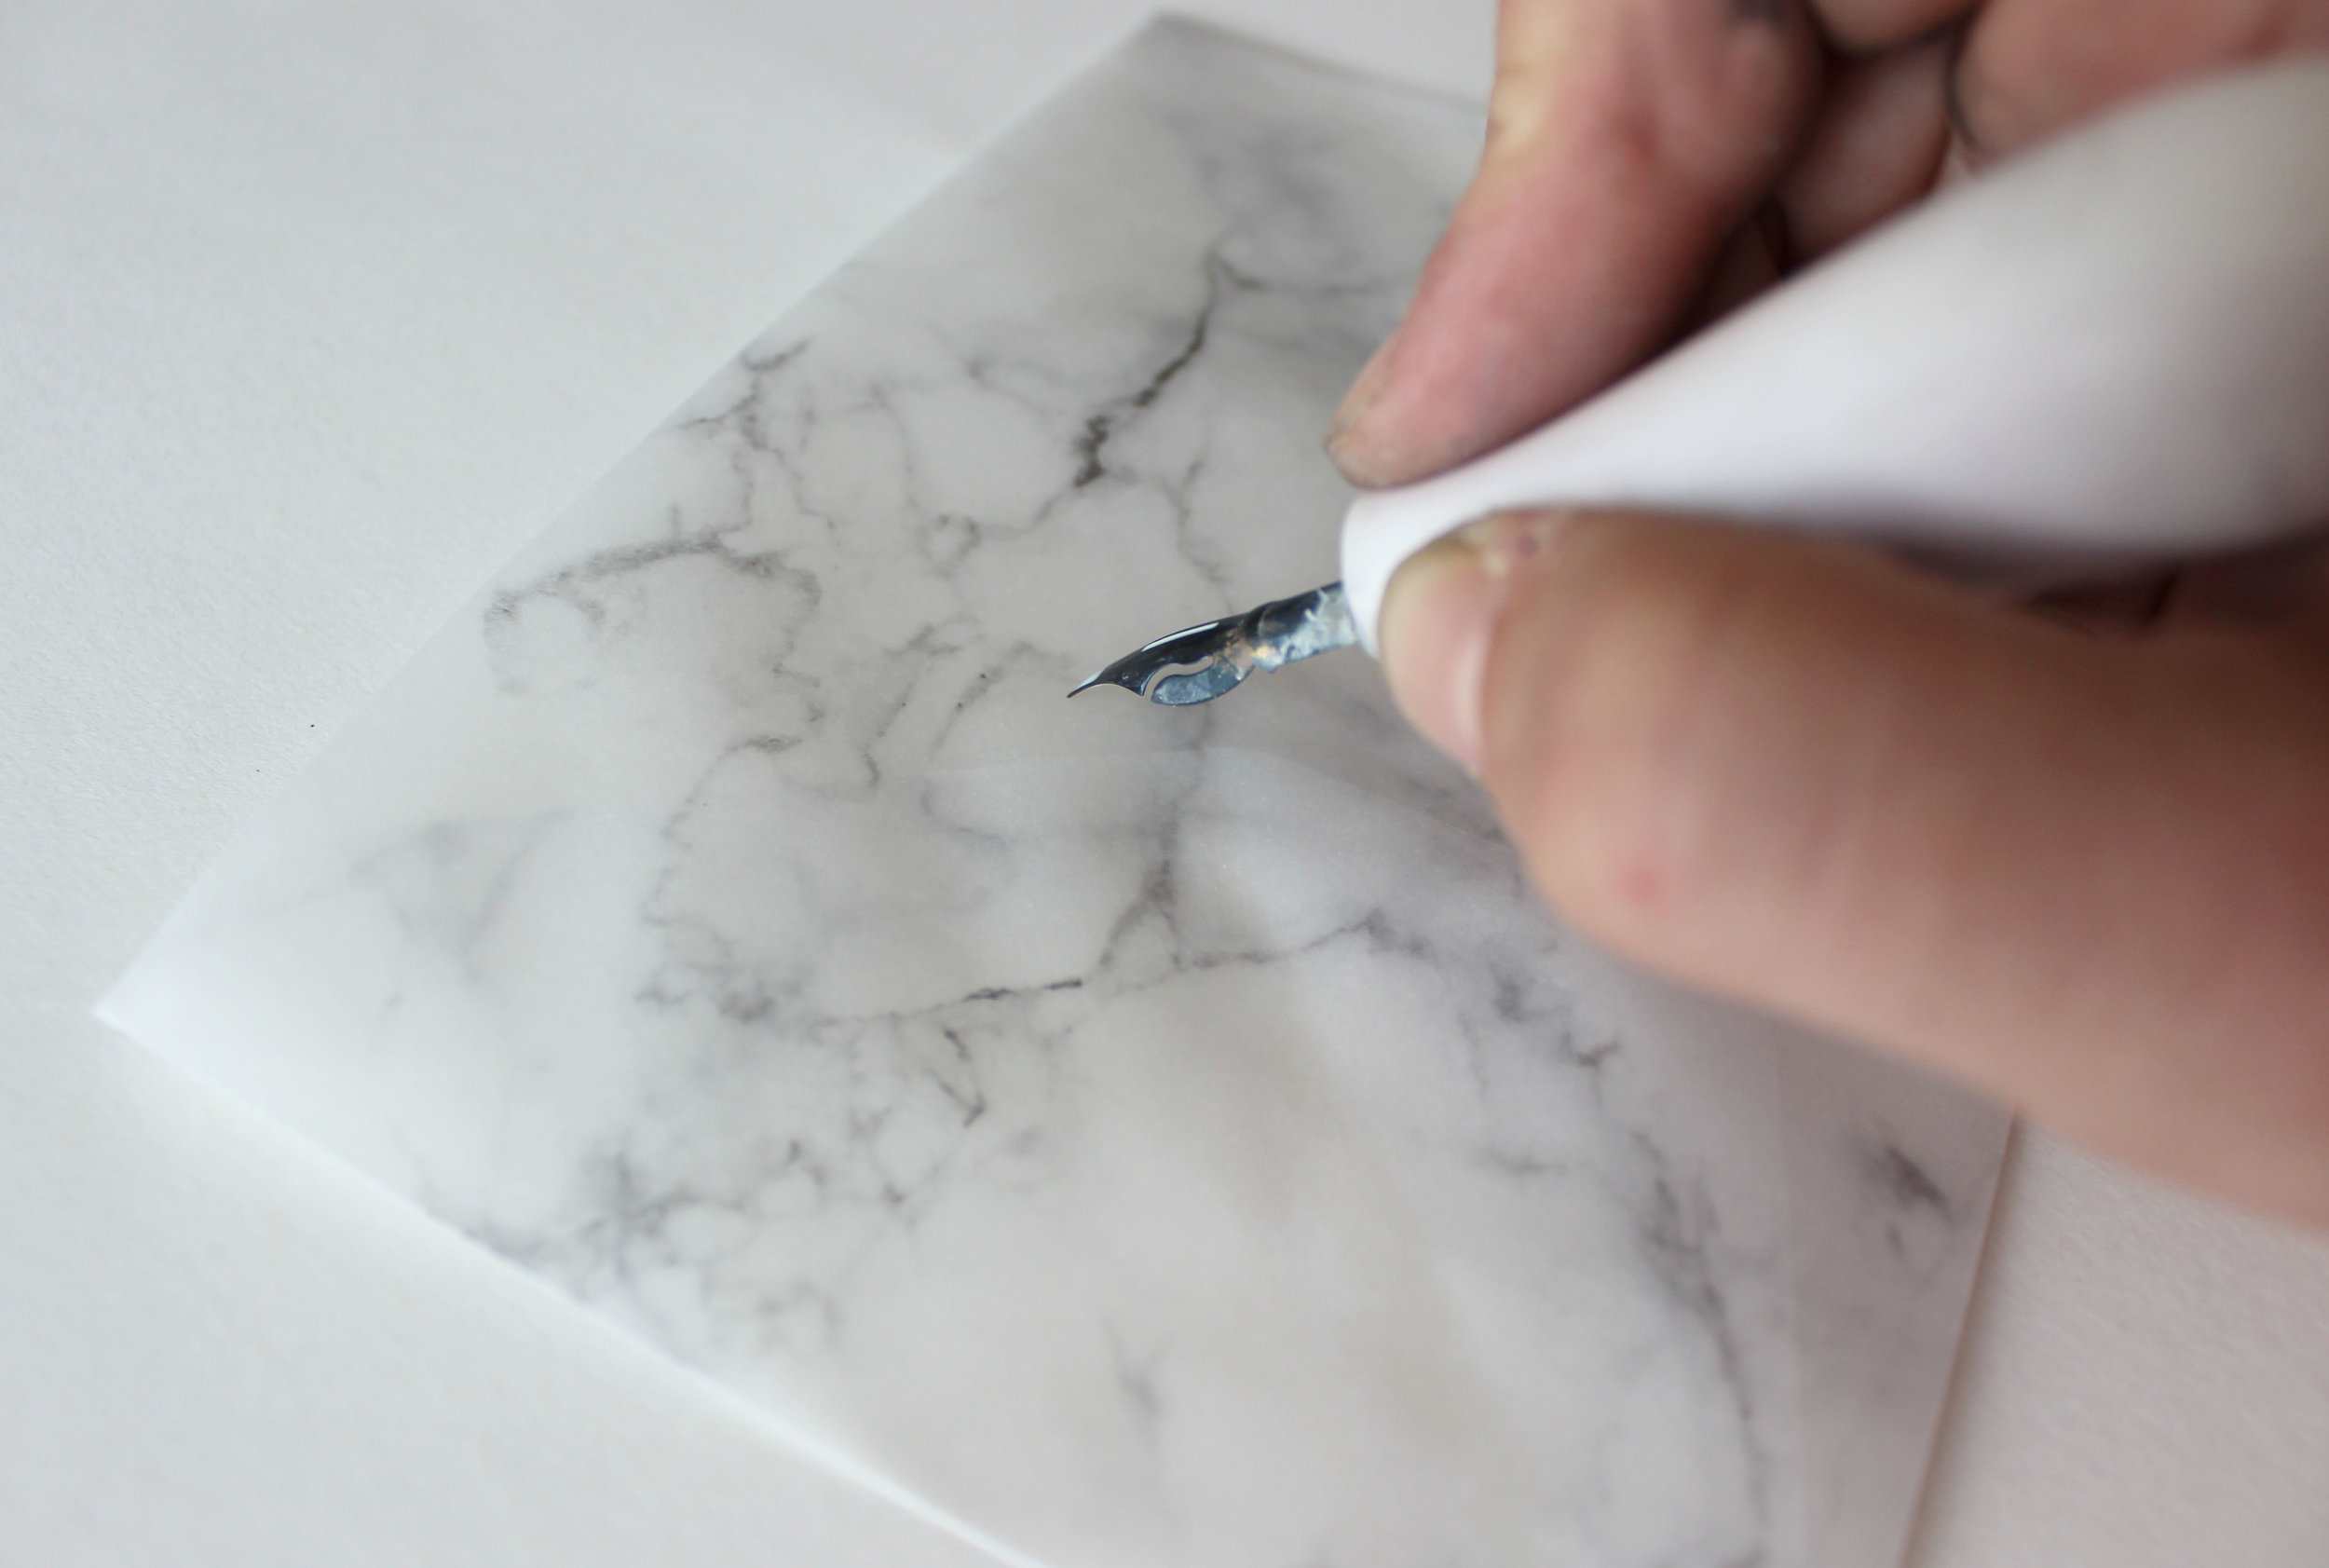
Dr. Ph Martin's Level 2 masking fluid is by far the best for lettering, it's thinner than other fluids I've used making it great for nib work. It also comes with a dropper top which is perfect for dropping right onto the nib. I even used it with an ink cage, and used an old nib figuring it would be ruined after using the masking fluid on it, but to my surprise I just pulled it easily off the nib once I was done and could still use it!
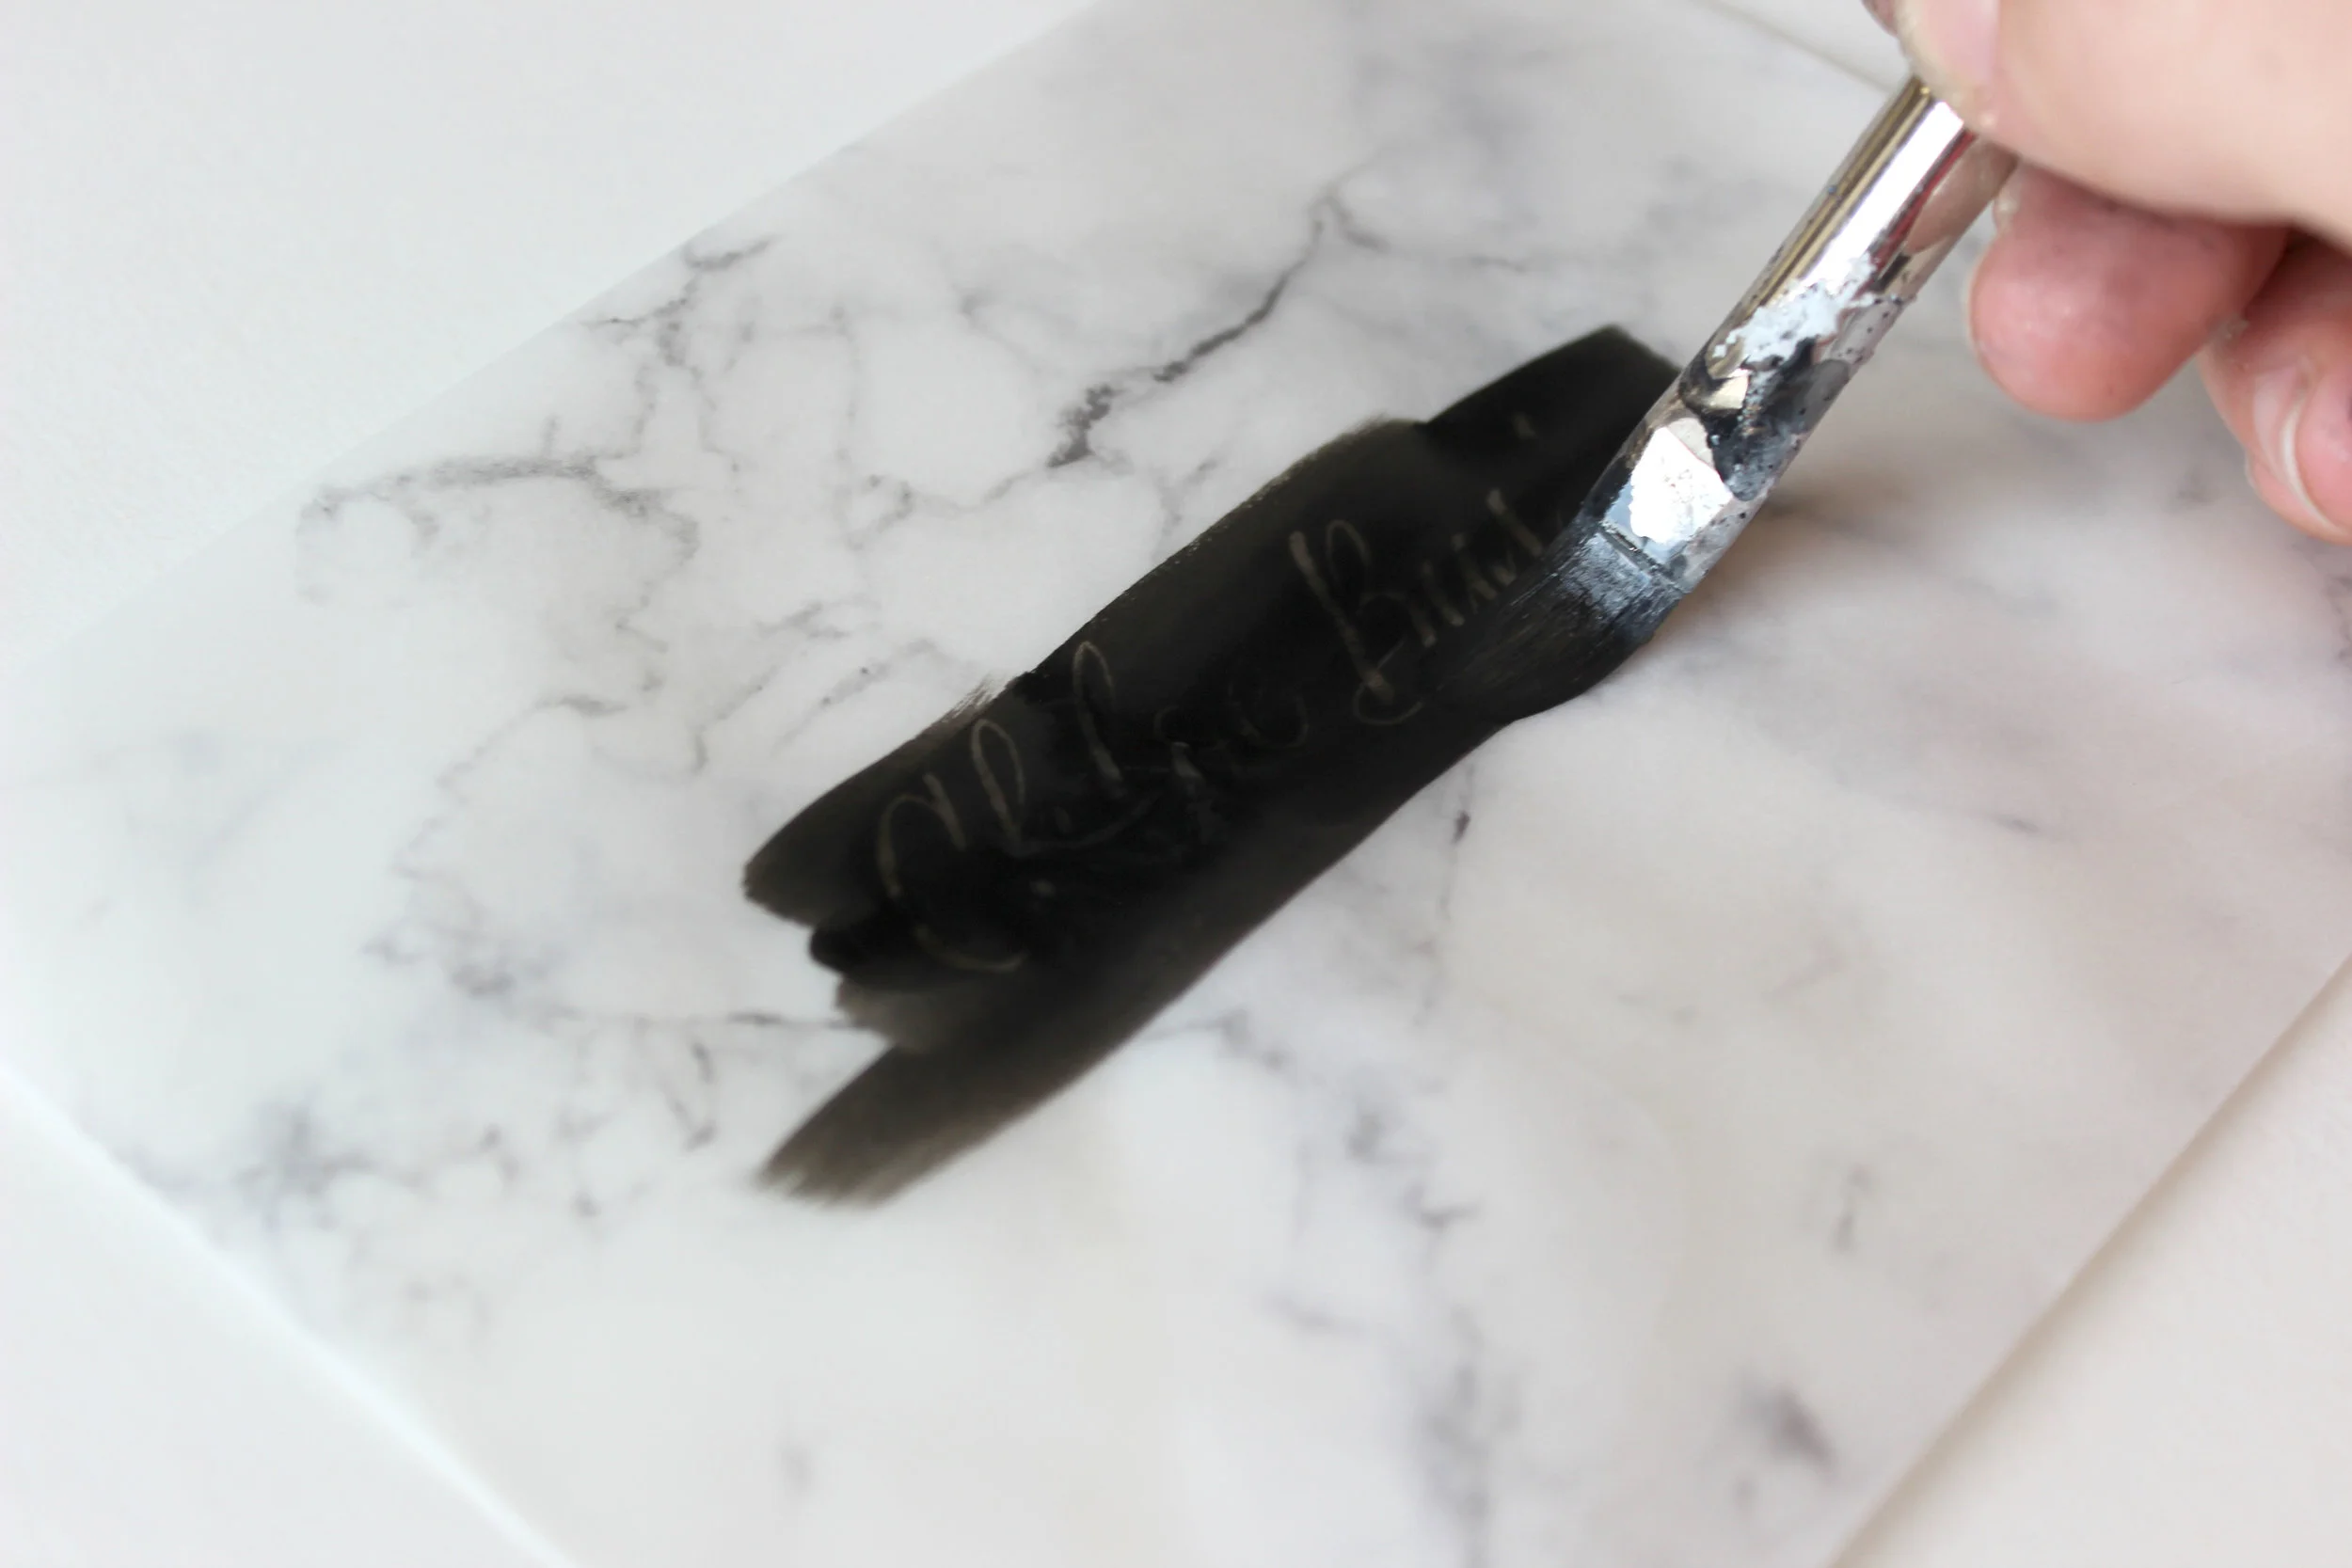
Get to paintin'
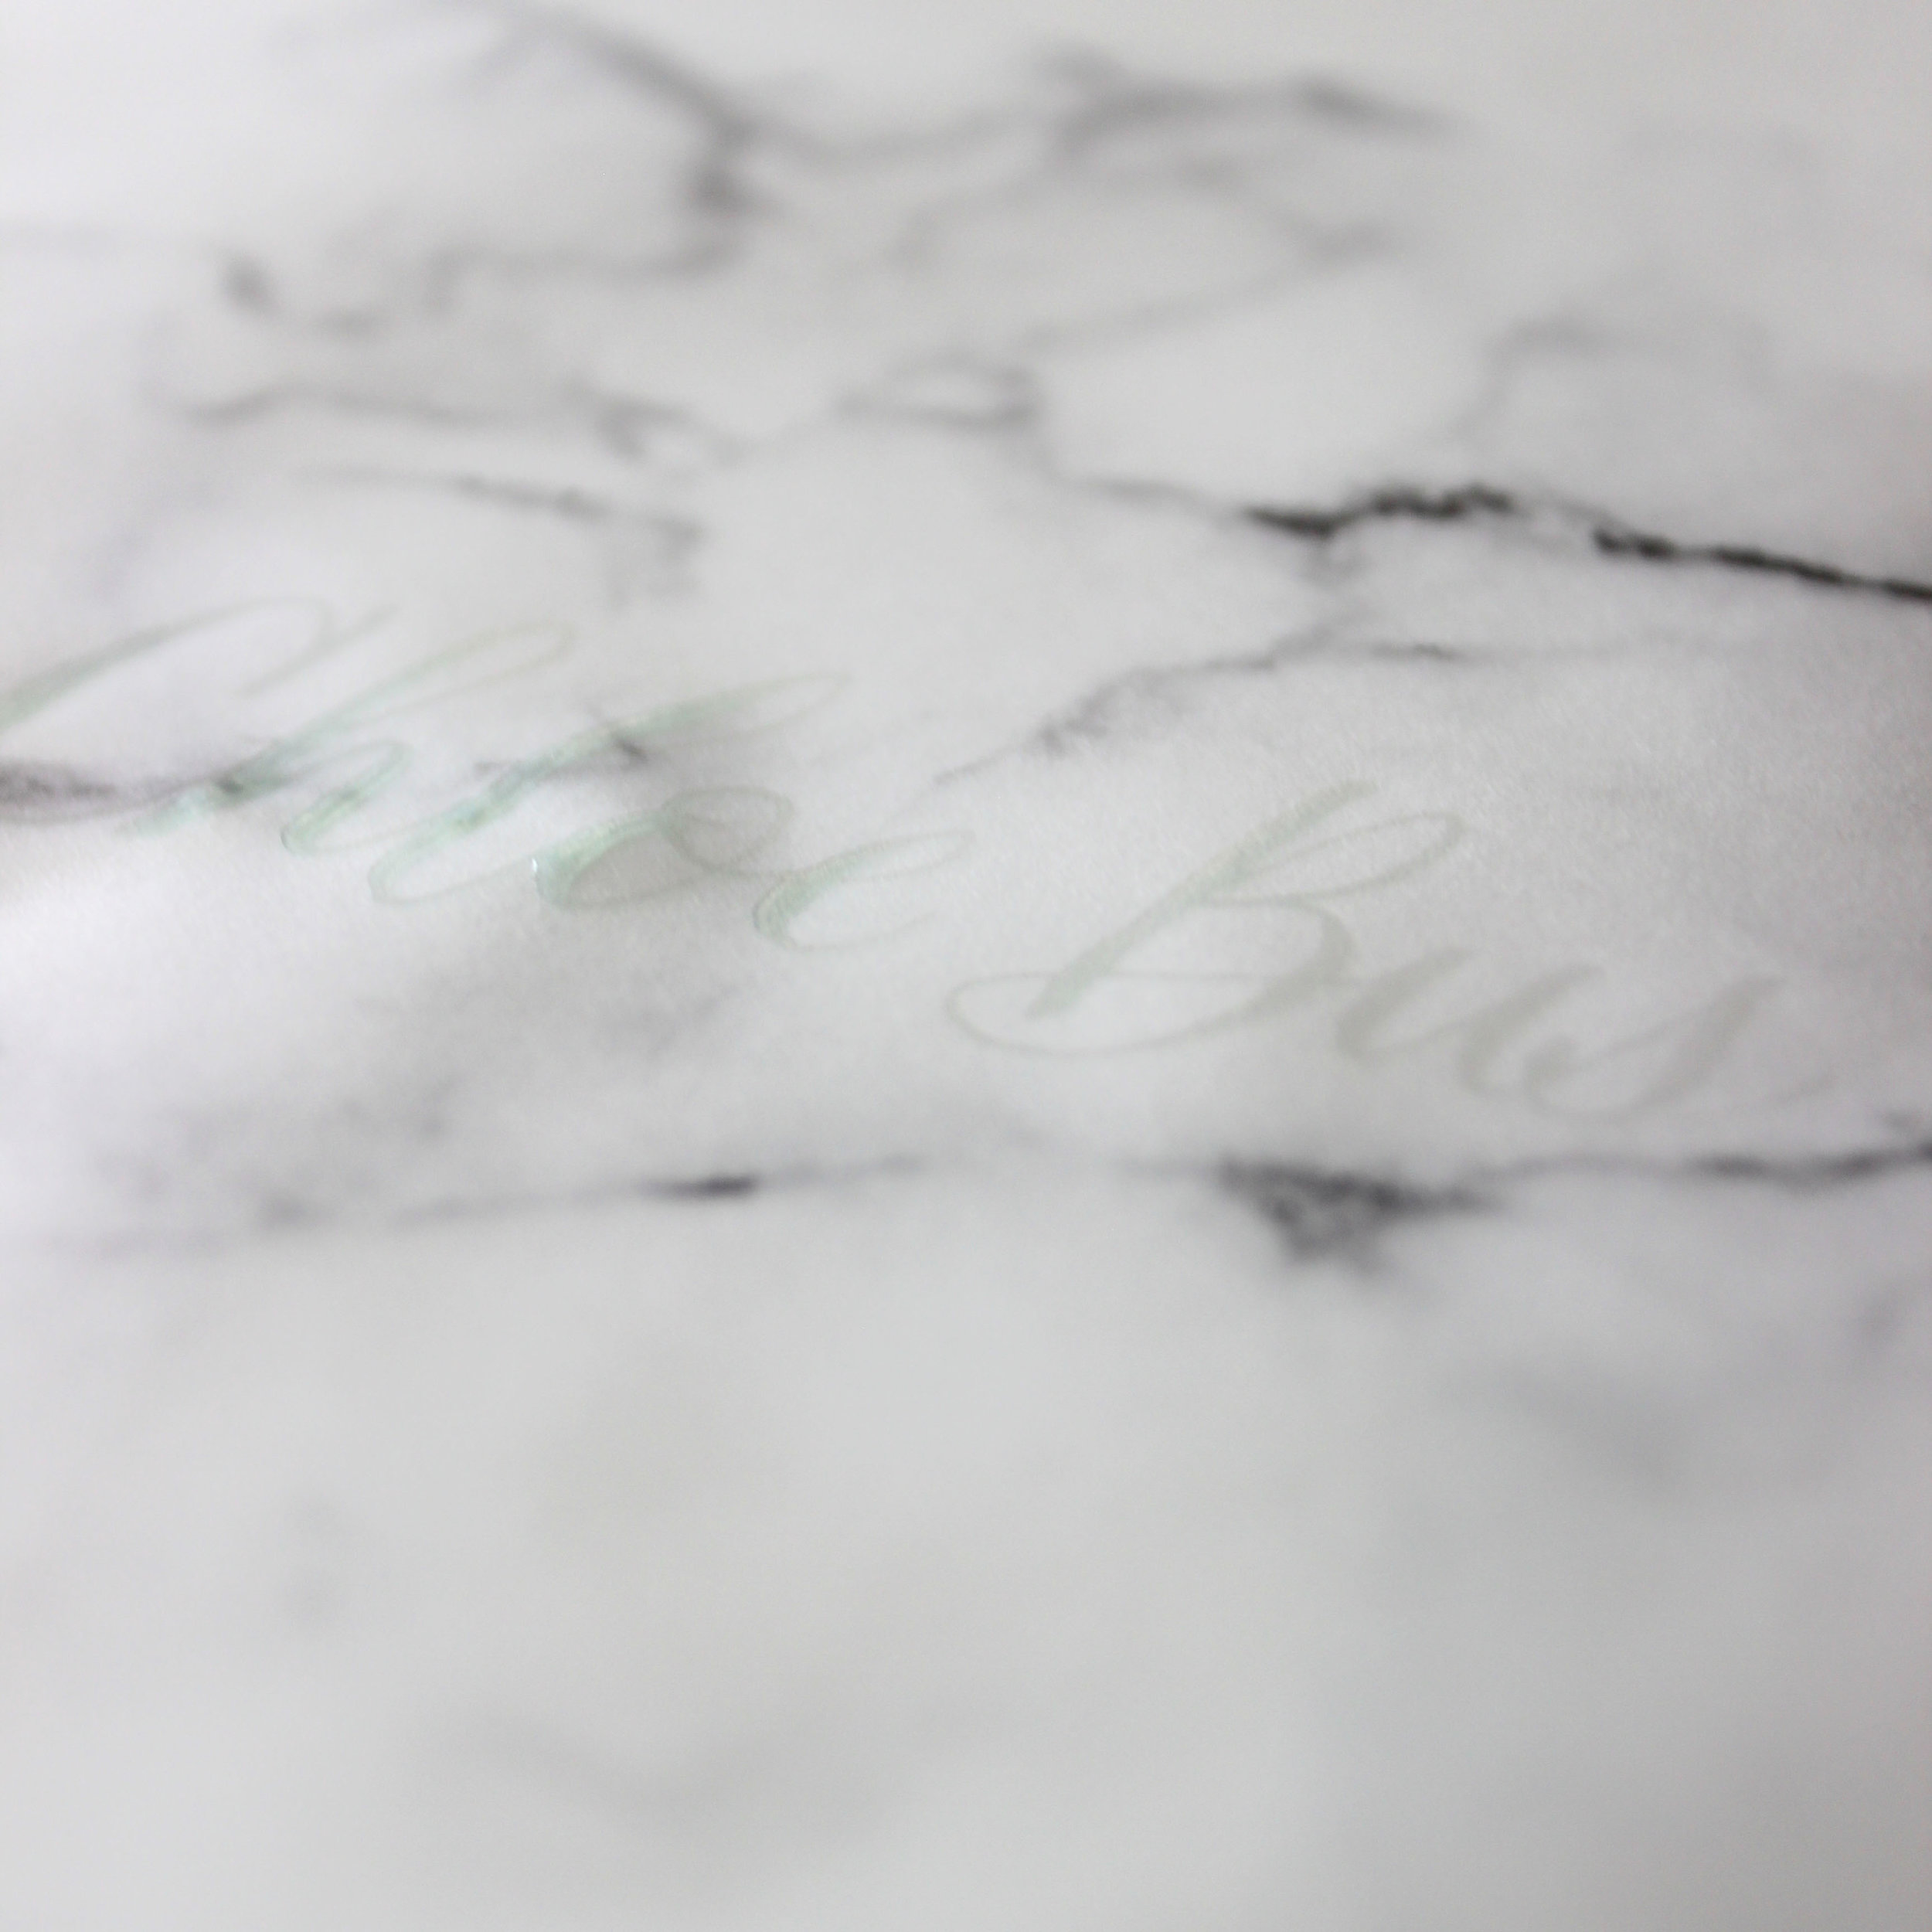
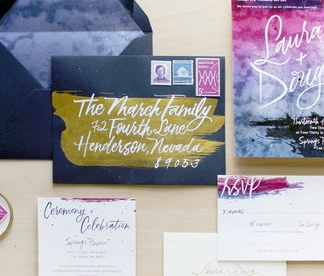
Let the masking fluid dry, shouldn't take too long, give it 5 minutes to be safe? But you'll probably know when it's ready. Then hit it with some paint. Here's some inspiration...

Tip
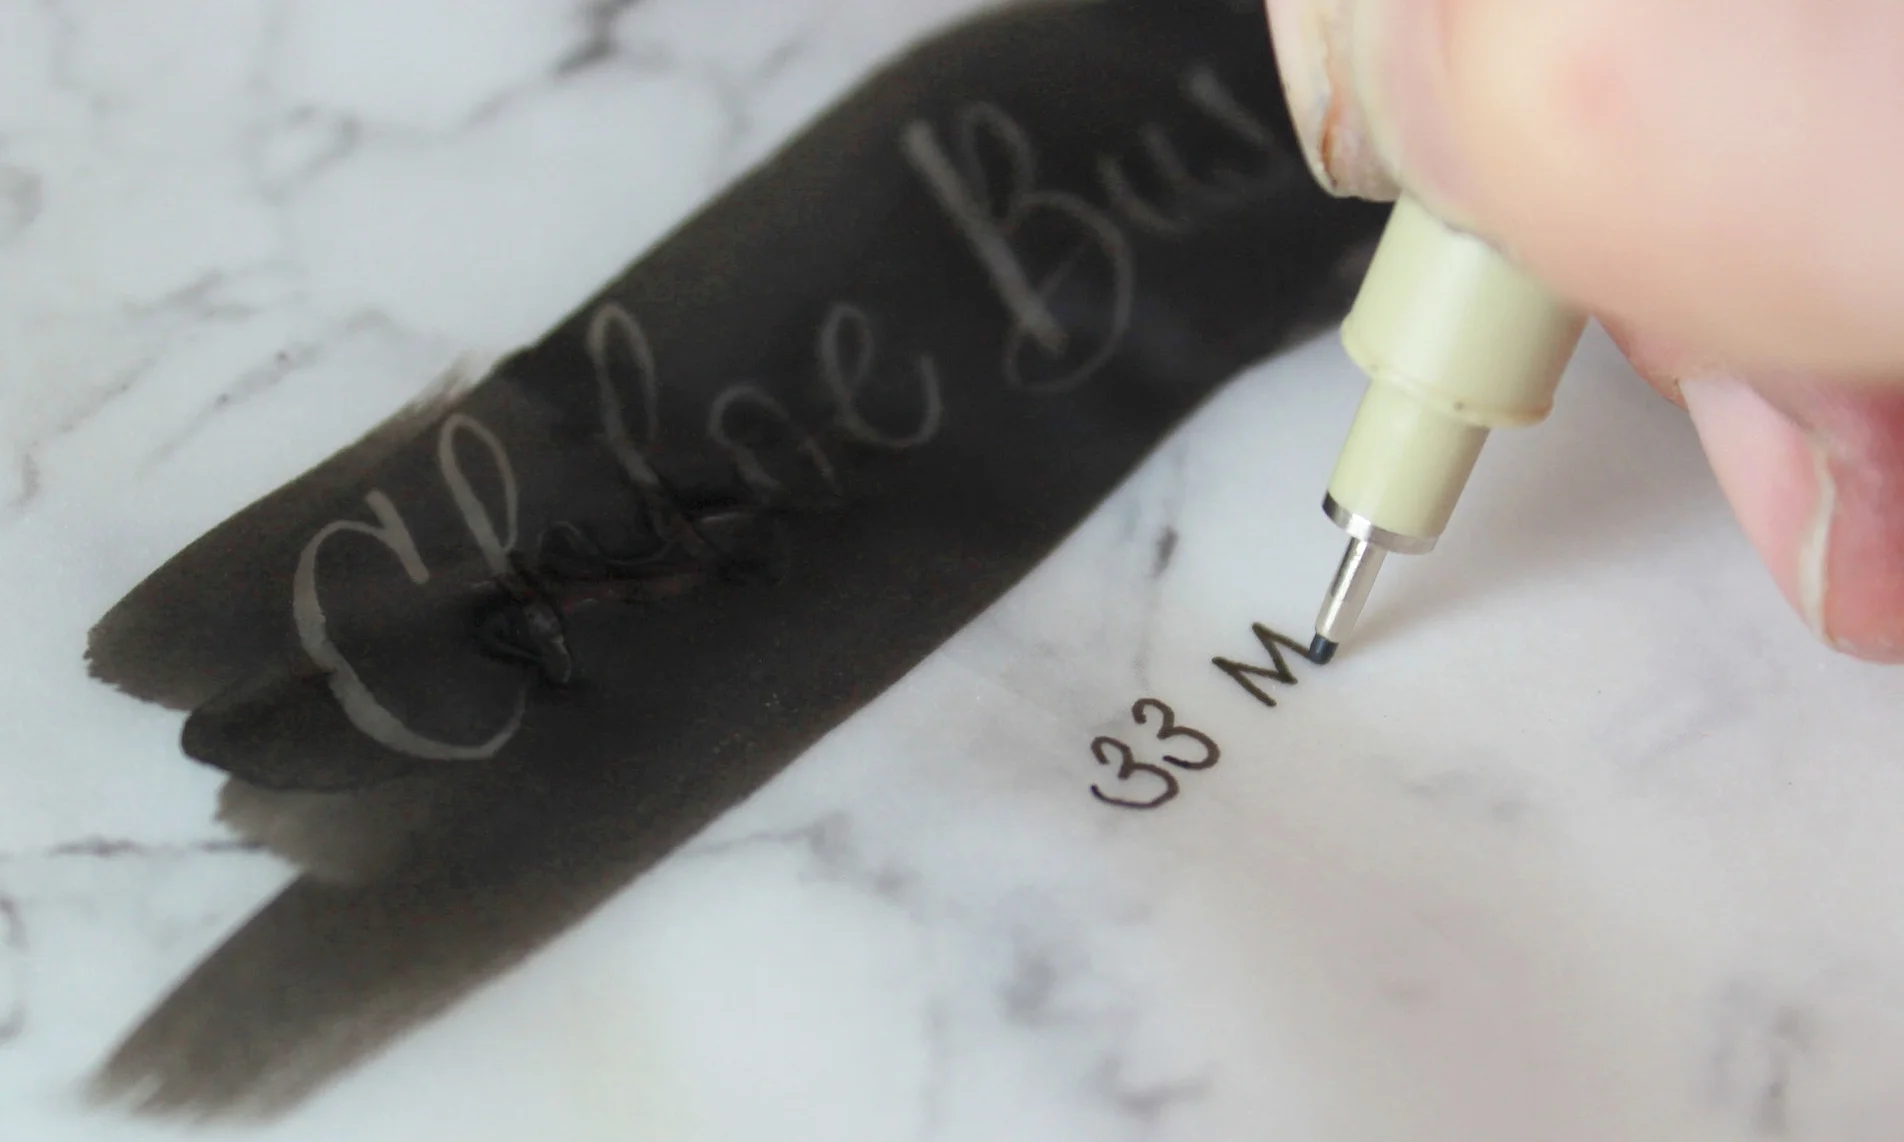
While the paint is drying, write the address. And then put it on your envelope drying rack, and go back once your all done to remove the fluid.
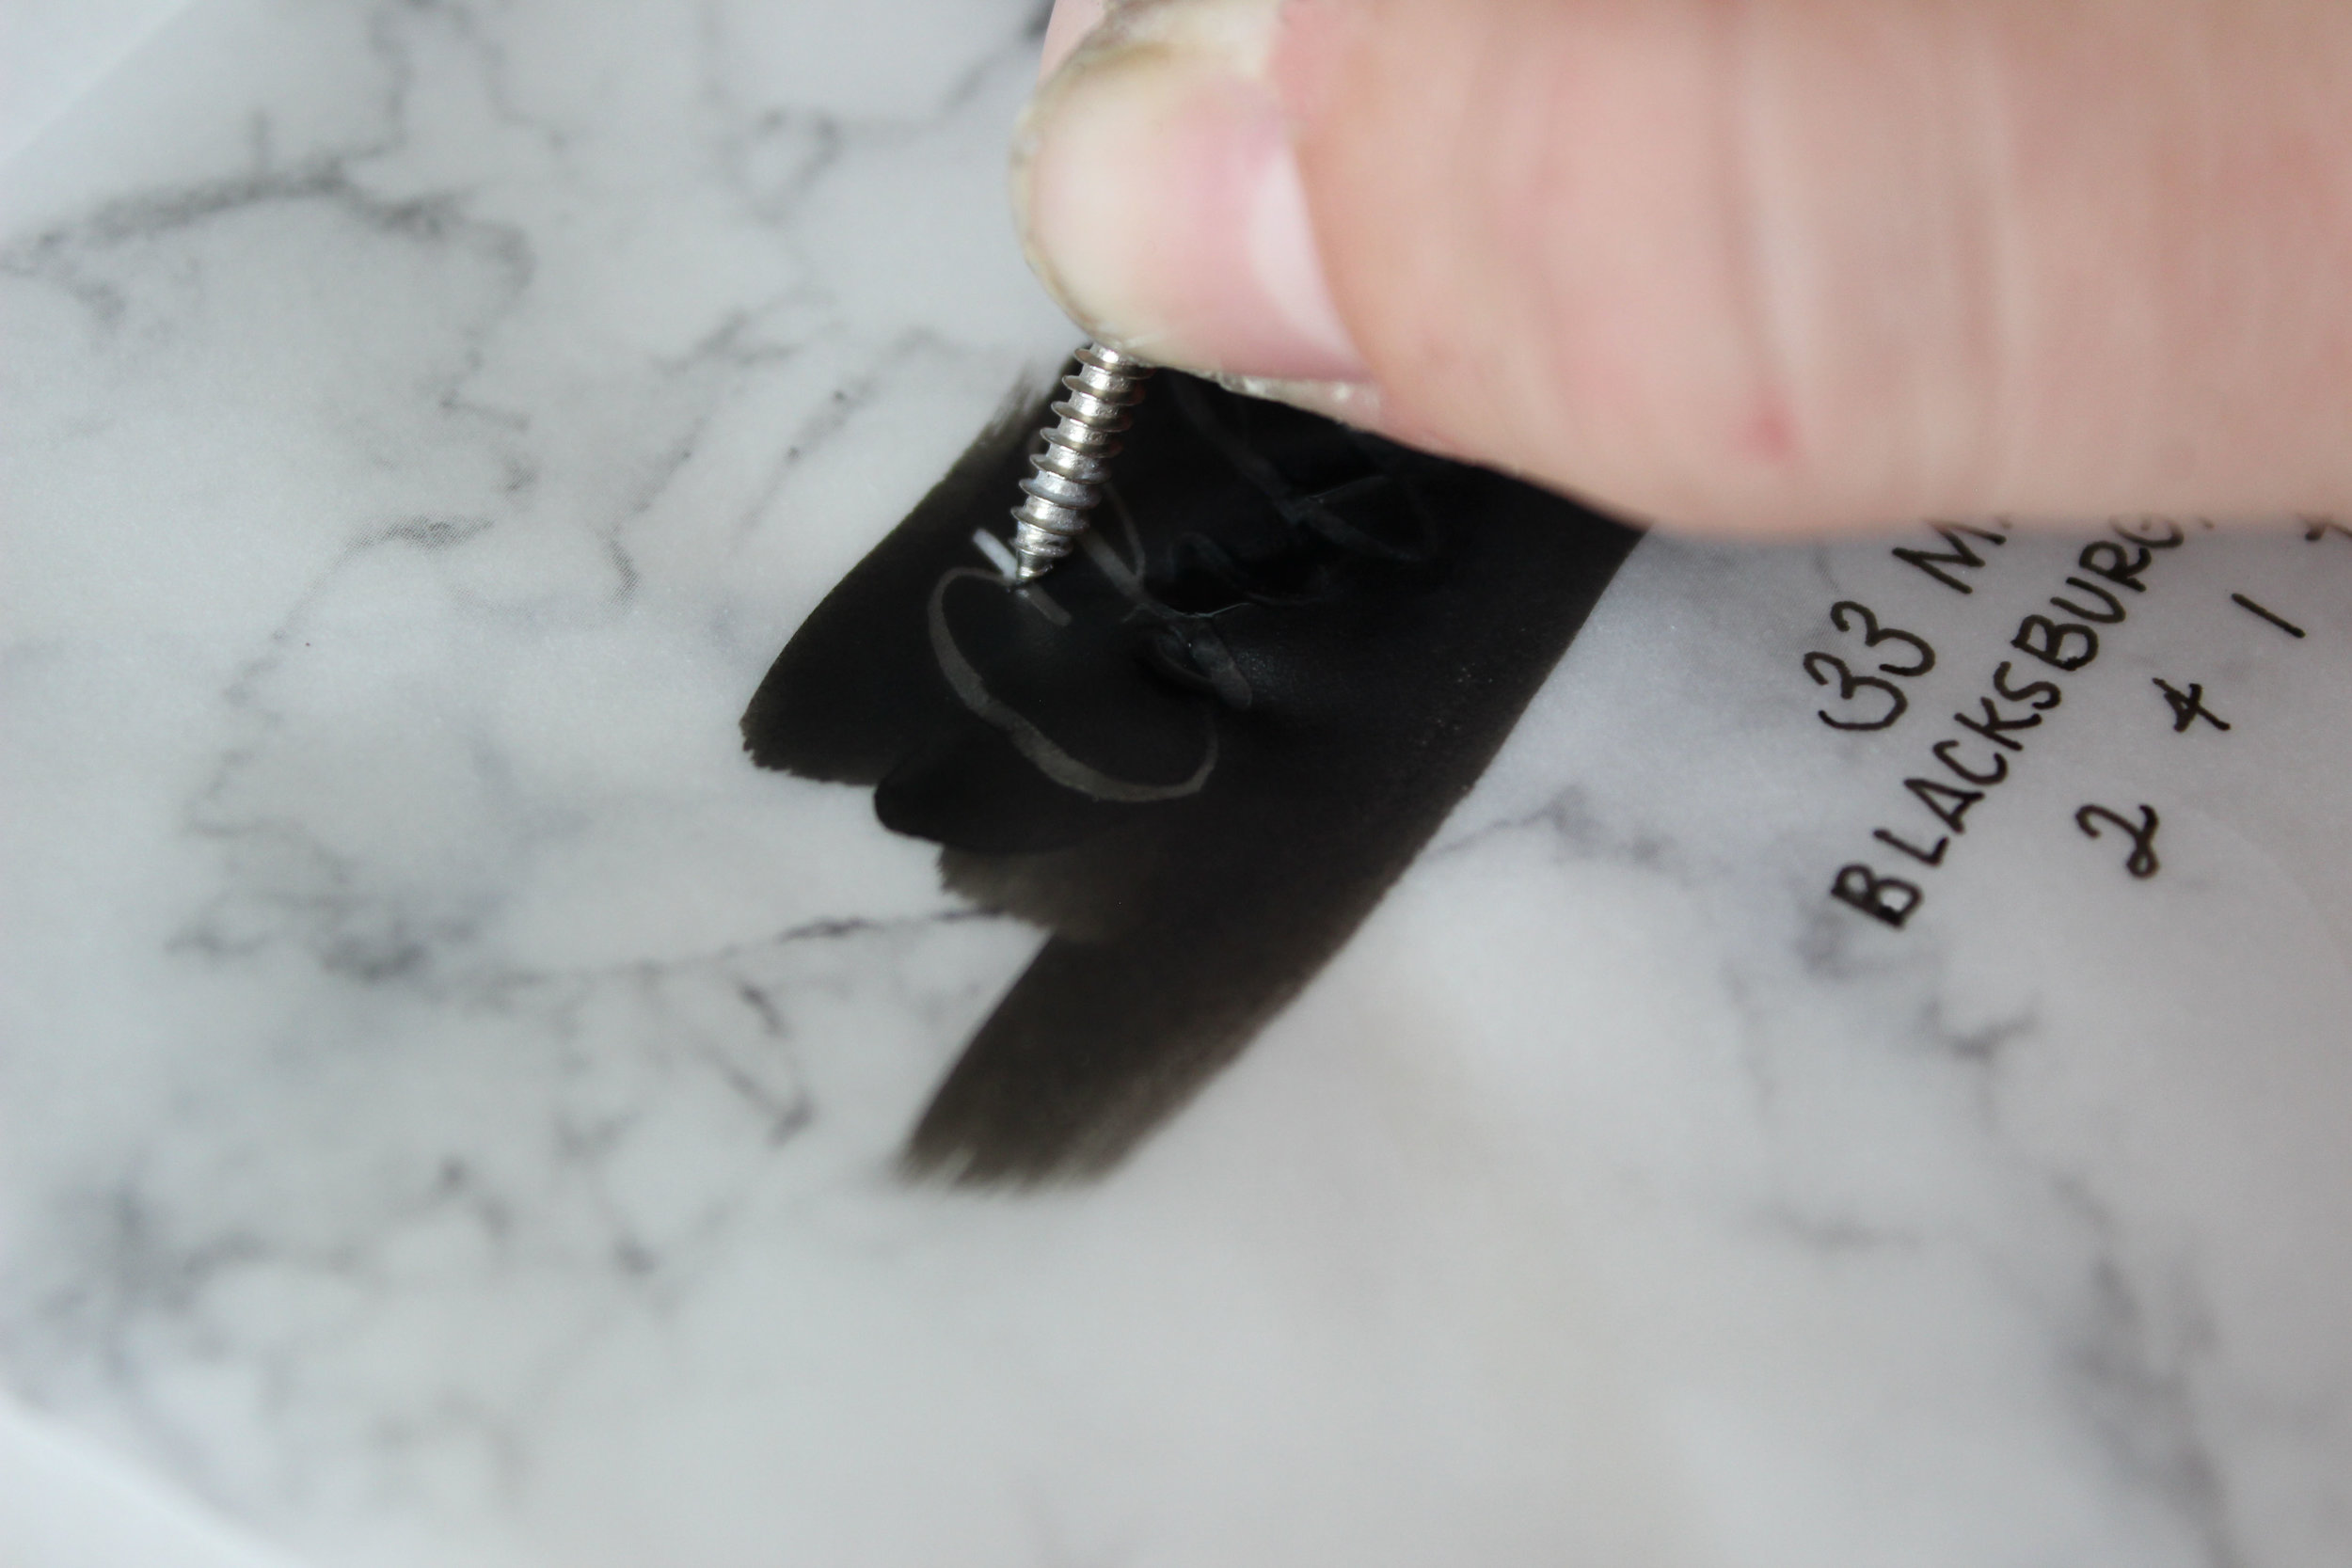
The fun part
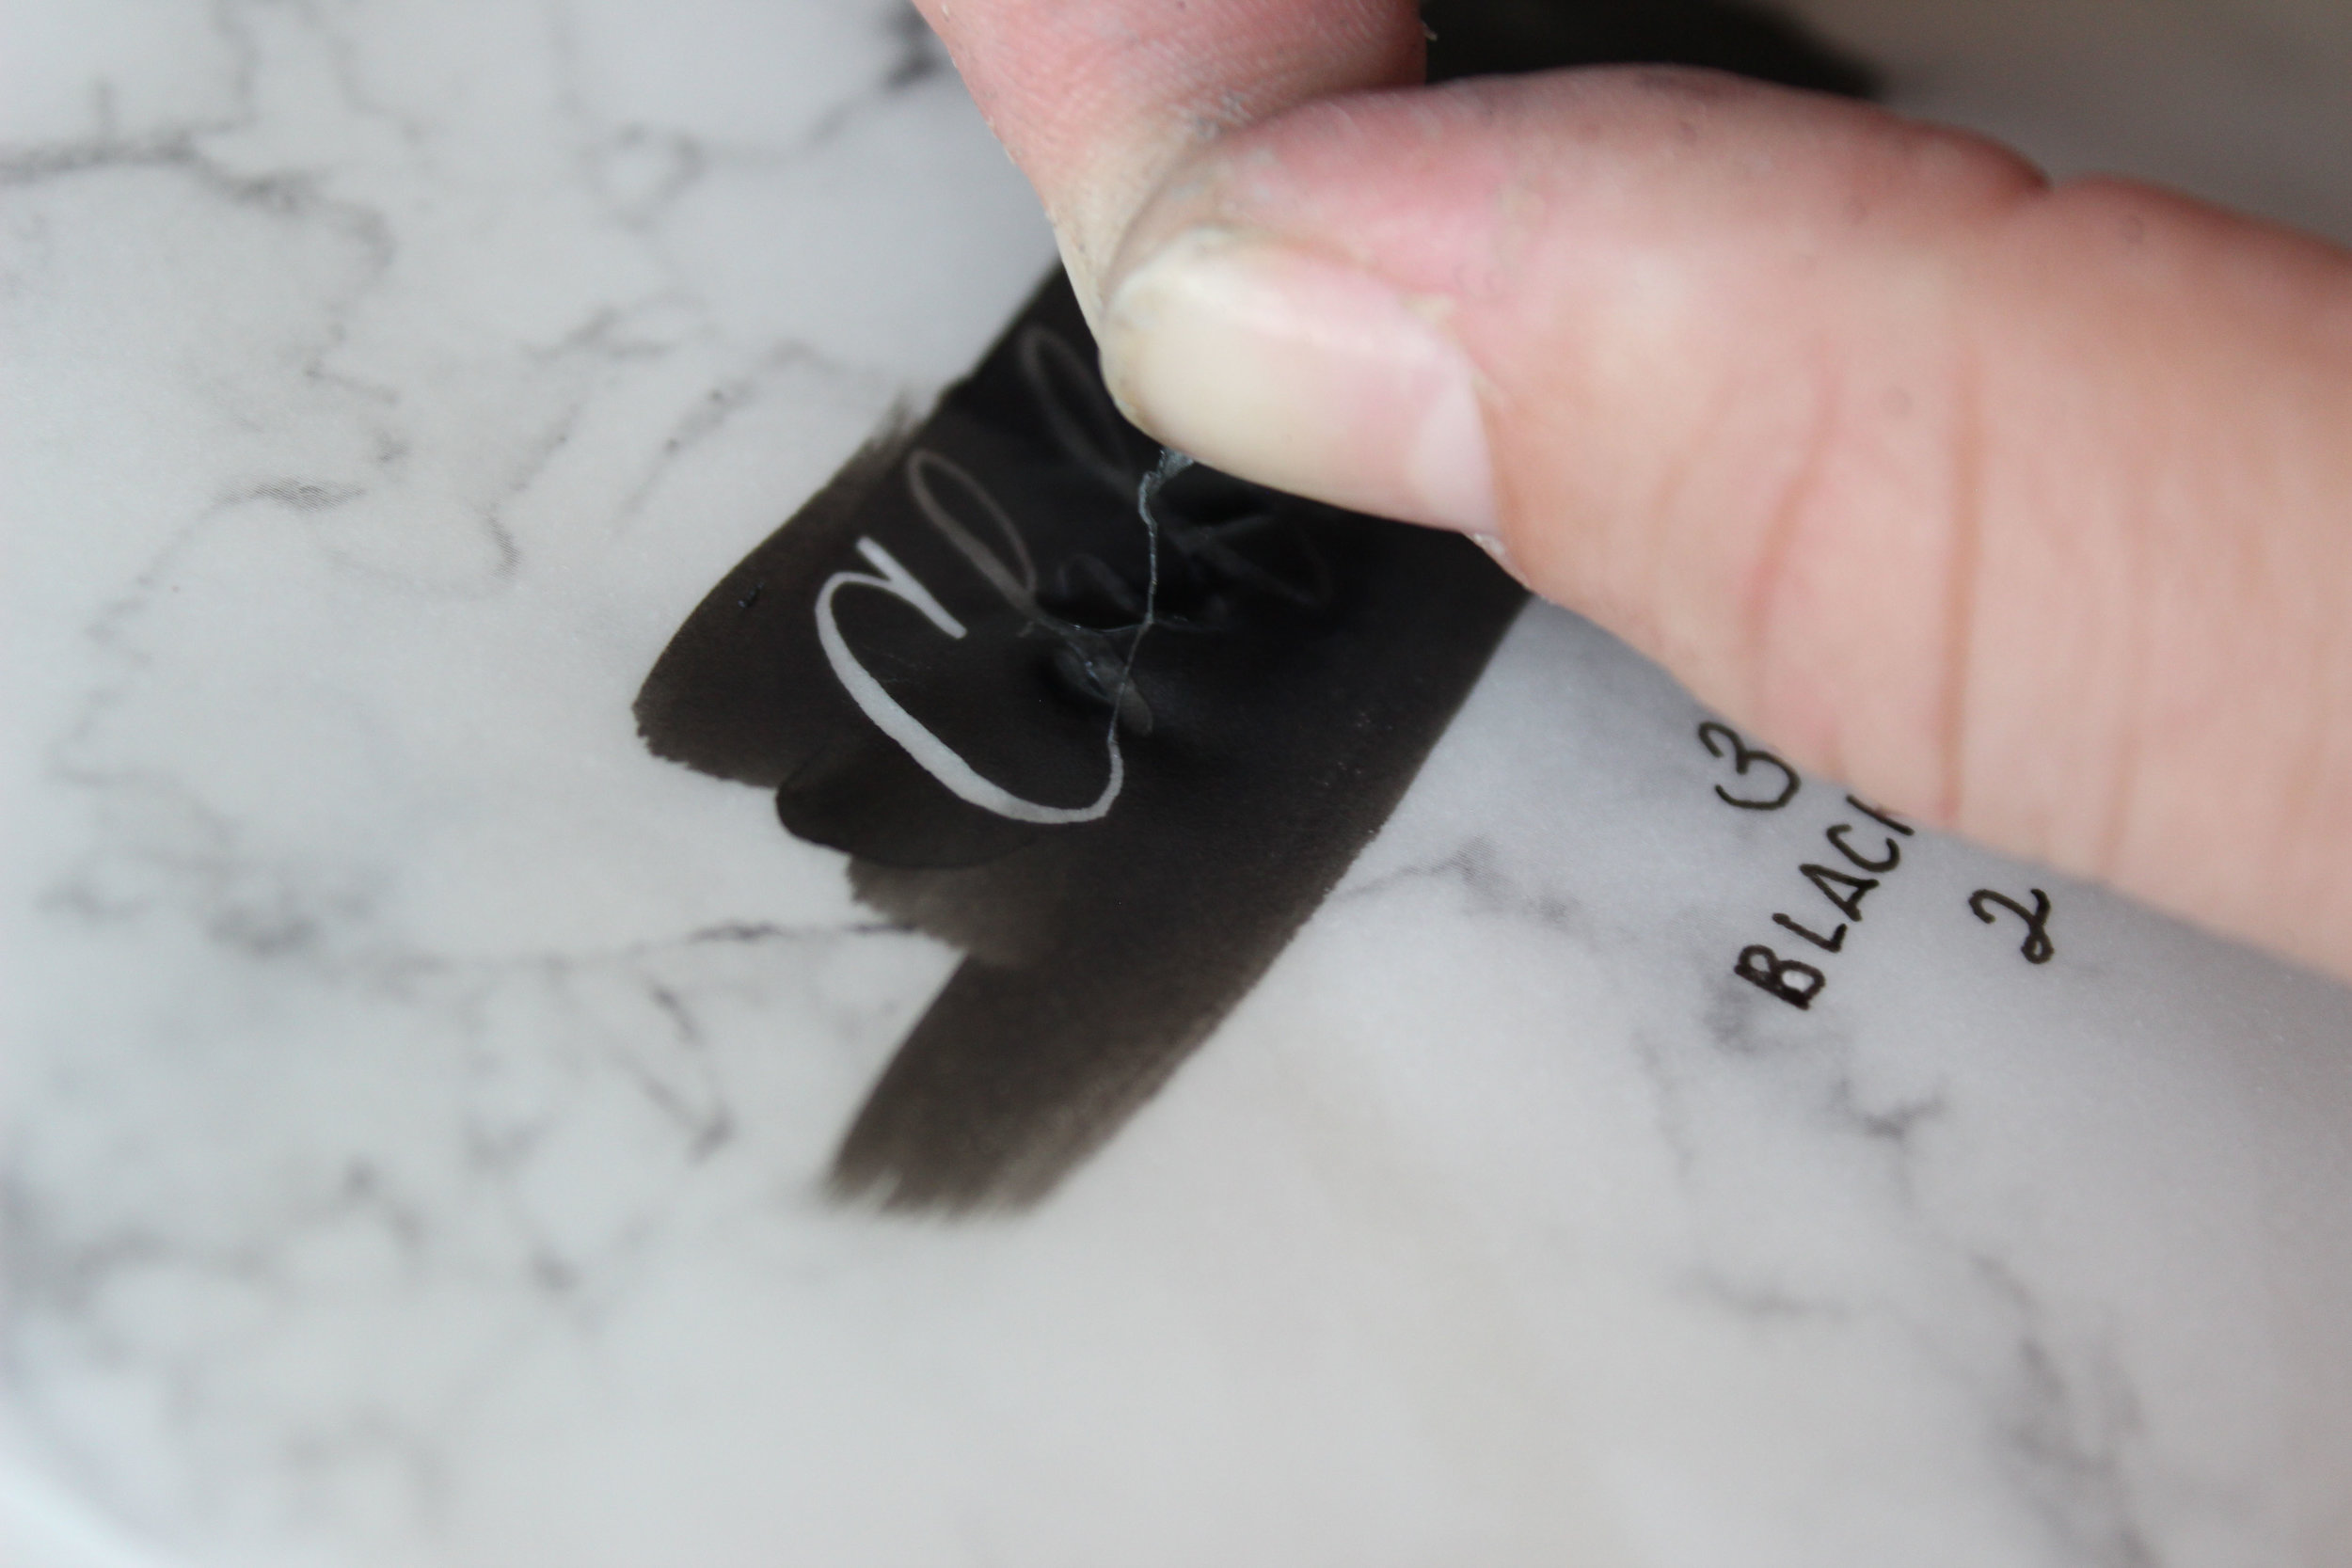
Start peeling off the masking fluid once your paint is totally dry! Use a sharp edge to get it going, I've used an Xacto knife before, this time I just used a screw since the envelopes were vellum and much less susceptible to tearing. Then just peel it off, so satisfying.