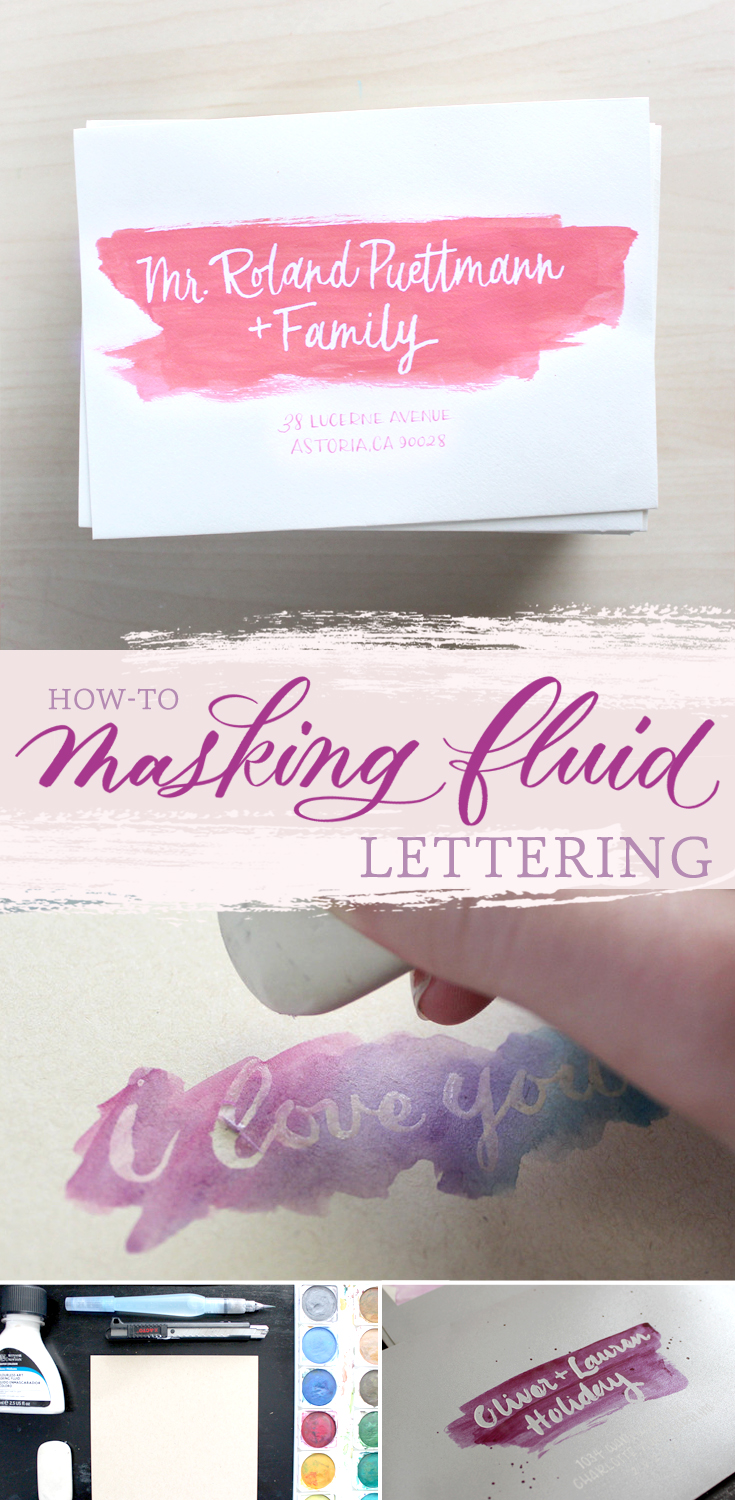
How To: Lettering with Masking Fluid
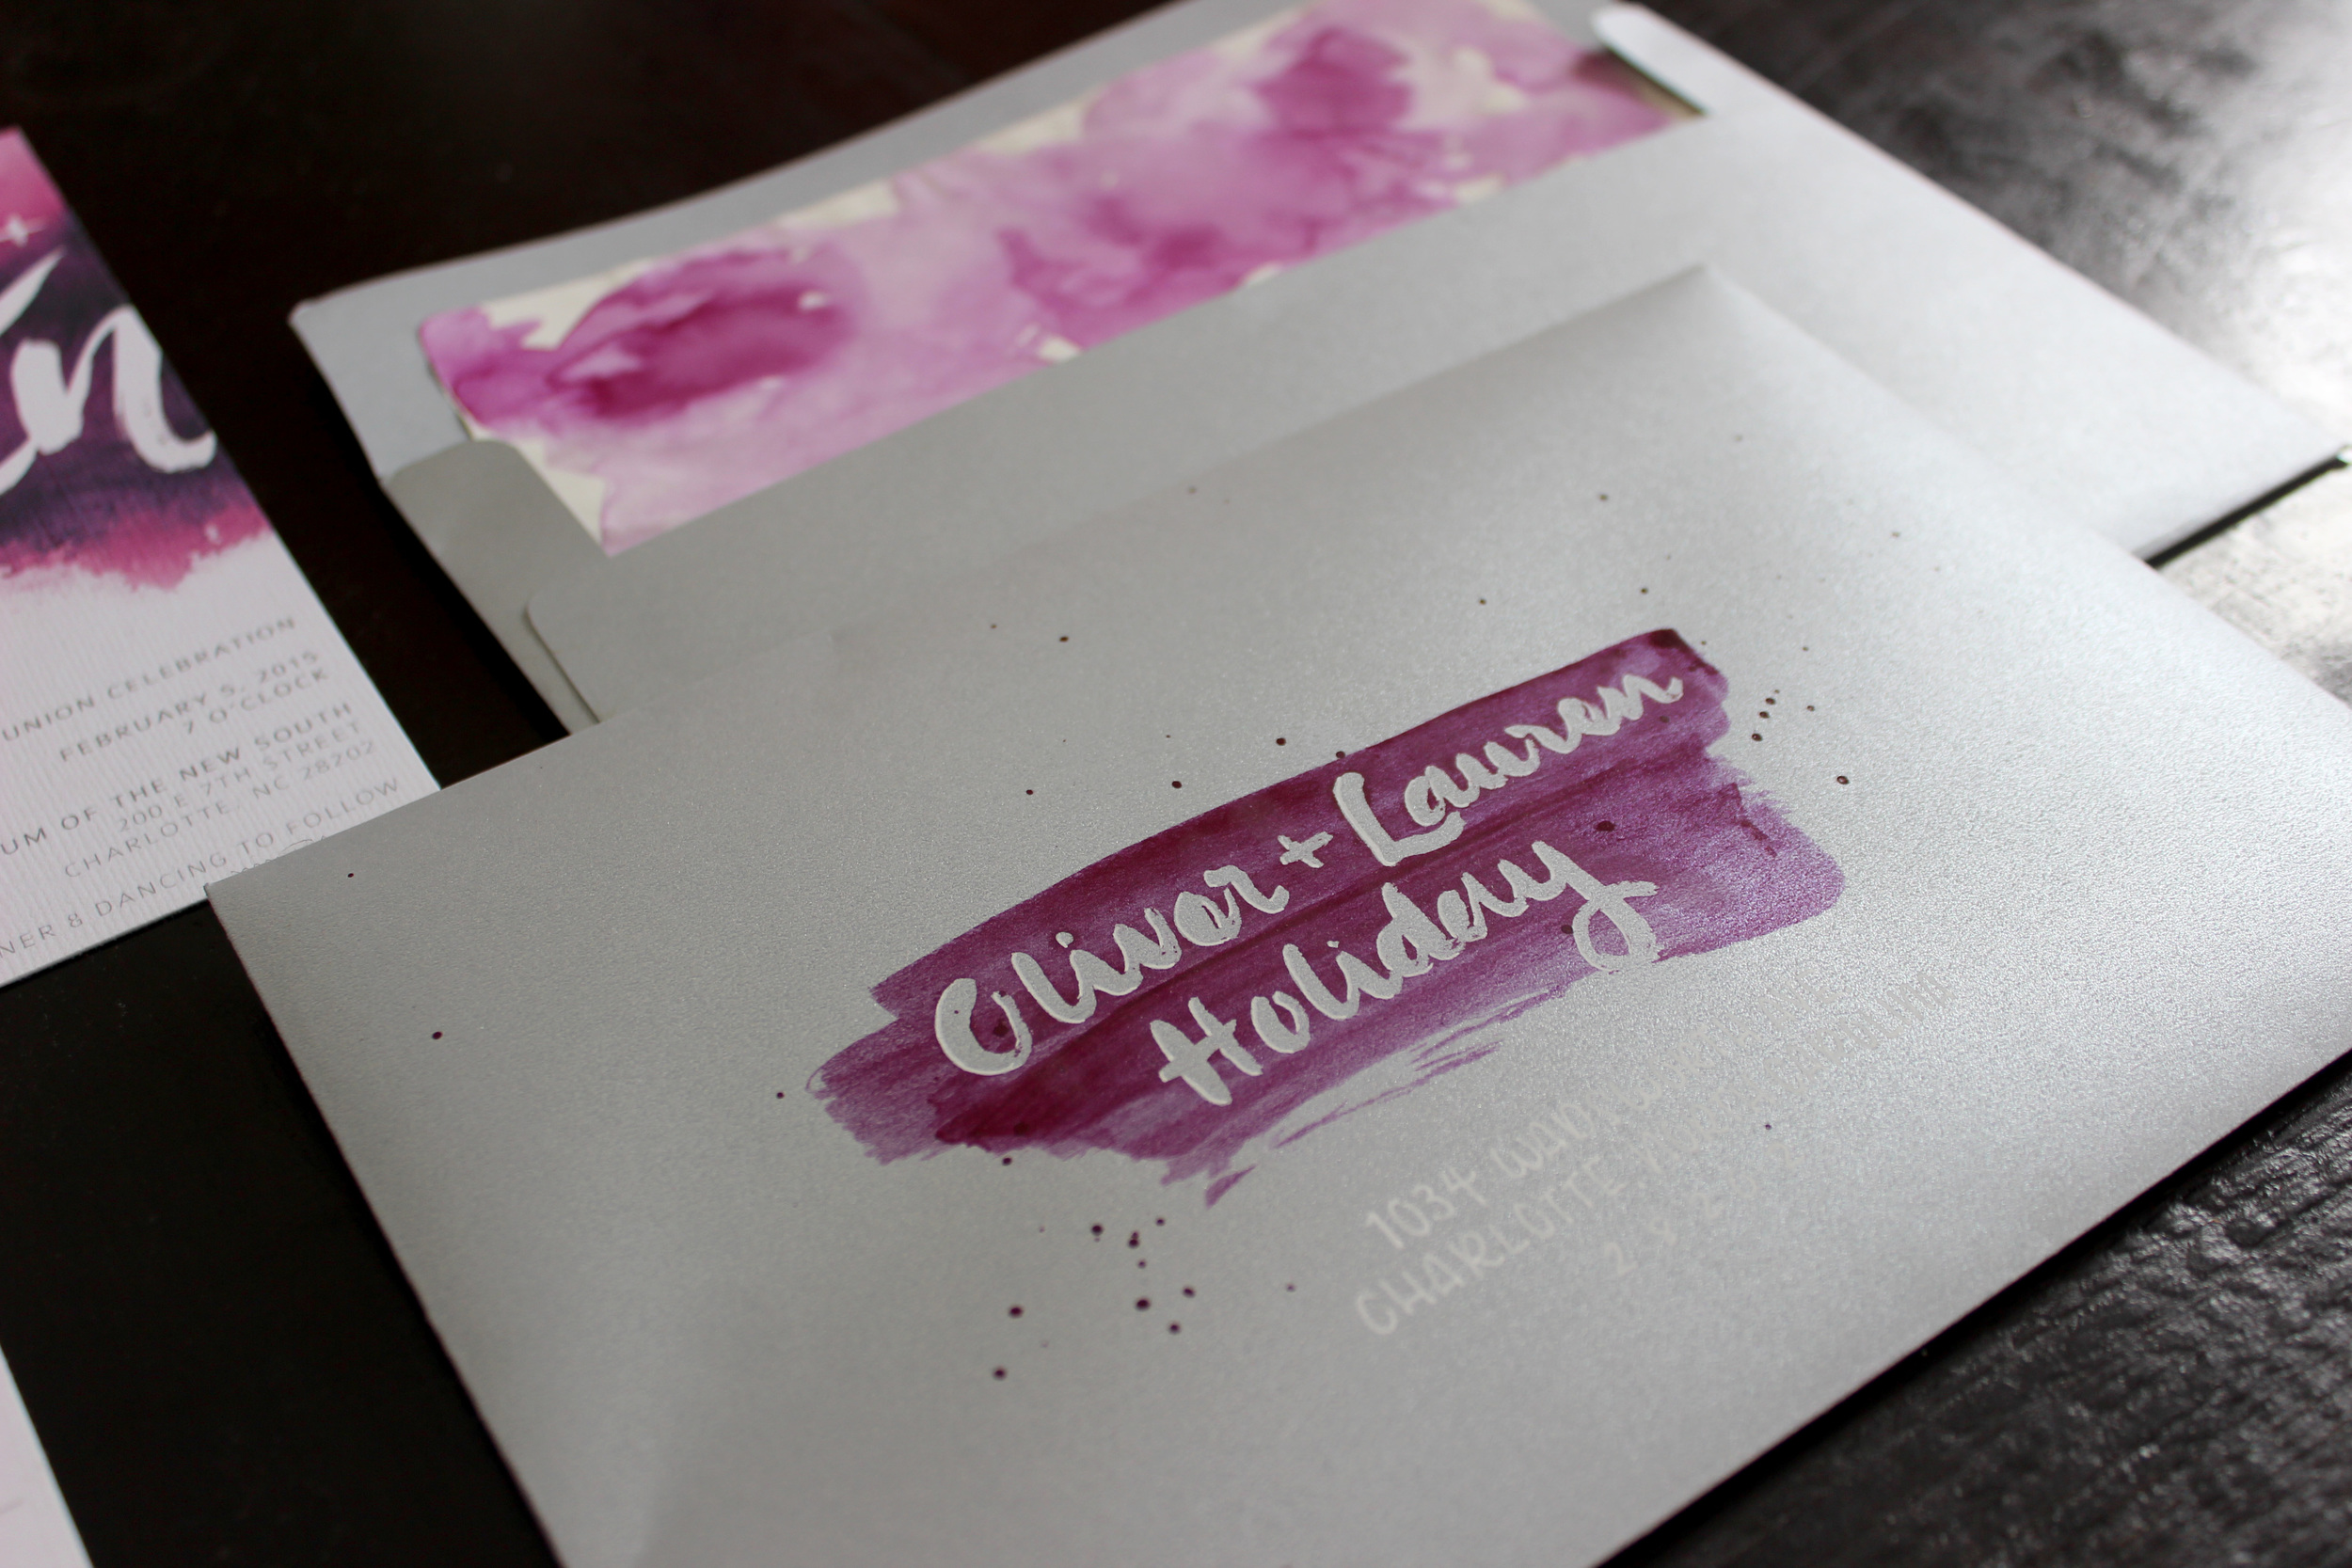
After posting the shots of my Invitation Suite that I made for The Big Fake Wedding event in February, I got a lot of questions asking about how I made the outer envelopes. It looks like it'd be super difficult, but it's actually really simple & totally doable for wedding invitations! This post contains affiliate links.
SETUP
Here's the list of materials I use, but use whatever you're most comfortable with!
- Winsor & Newton Masking Fluid
- Factis Soft Oval Eraser
- XACTO Knife
- Pentel Waterbrush
- Small Paintbrush (any kind will work)
- Royal Talens Transparent Watercolours (my fav)
- Watercolor Paper
GETTING STARTED
Using whatever brush your most comfortable with, dip it into the masking fluid. I always use cheap-o brushes for this because the masking fluid can ruin the bristles since it's tacky and little bit like glue. So don't use this on any of your good brushes.
Fun Fact: You can also use masking fluid in your nib! That's a little harder to do, but definitely possible!
It creates a thin, transparent, tacky layer. Once you're done writing or painting whatever you want, let it dry for a couple minutes. It dries very fast.
APPLYING PAINT
Now apply whatever you want overtop! In the invitation suite at the top of the page, I used Dr. Ph. Martin's Bombay Red Violet India Ink. You can seriously do so many cool things at this point, let your creativity run wild. Throw some glitter (make it rain on 'em), or some Pearl-ex, use markers, crayons, wax, anything! Let your paint completely dry before moving on.
REMOVING THE MASKING FLUID
Take your soft eraser and gently peel up the masking fluid! It comes off pretty easily. For tricky areas where it doesn't come off as easily, or maybe it starts peeling off paint where you don't want it to - gently use an Xacto knife.
The beauty of this process is that if it does take up paint where you didn't want it to - just paint some back on that area!
